Easy Sourdough Challah Bread Recipe (Knead by Hand Option)
This easy-to-make sourdough challah bread comes together in a snap. I’ve included step-by-step pictures, a video tutorial, and lots of tips to help you learn how to make this enriched bread. Bread flour produces a pillowy-soft texture, and an egg wash leaves a delicious golden-brown crust. This recipe yields 2 short loaves.

This recipe was born out of my love for the taste of sourdough bread and my desire to have a simple recipe that I could mix together, knead by hand, and leave overnight. No stretching and folding, no stand mixer required, and no complicated baking schedule.

Why Make Challah Bread?
• For sourdough bread, this recipe is actually very easy to make. It’s perfect for beginners and results in an impressive-looking loaf.
• This is an “enriched” dough, which means in addition to the basic flour, water, leavening, and salt ingredients, we will add butter, eggs, and honey.
• These enriching ingredients add a wonderful flavor to the bread. Slice it up with a thick slather of butter, make it into sandwiches, or use it as the perfect base for French toast or sourdough egg casserole.
• Challah bread is a staple in the Jewish community. It’s often served during religious occasions such as Shabbat.
This bread is traditionally braided, but I wanted to simplify the recipe. I swapped out the braiding step for an easier rolling process (like shaping dinner rolls). As a mom of 5 hungry kiddos, I like to take delicious recipes and adapt them to reduce the workload in our busy kitchen.
If you love the look of braided challah you can still use this recipe, simply shape the loaf into a braid. Here is a great video showing how to braid challah:
Ingredients You’ll Need
- Water. You can’t make bread dough without some kind of liquid. You could use milk instead for a brioche-style dough.
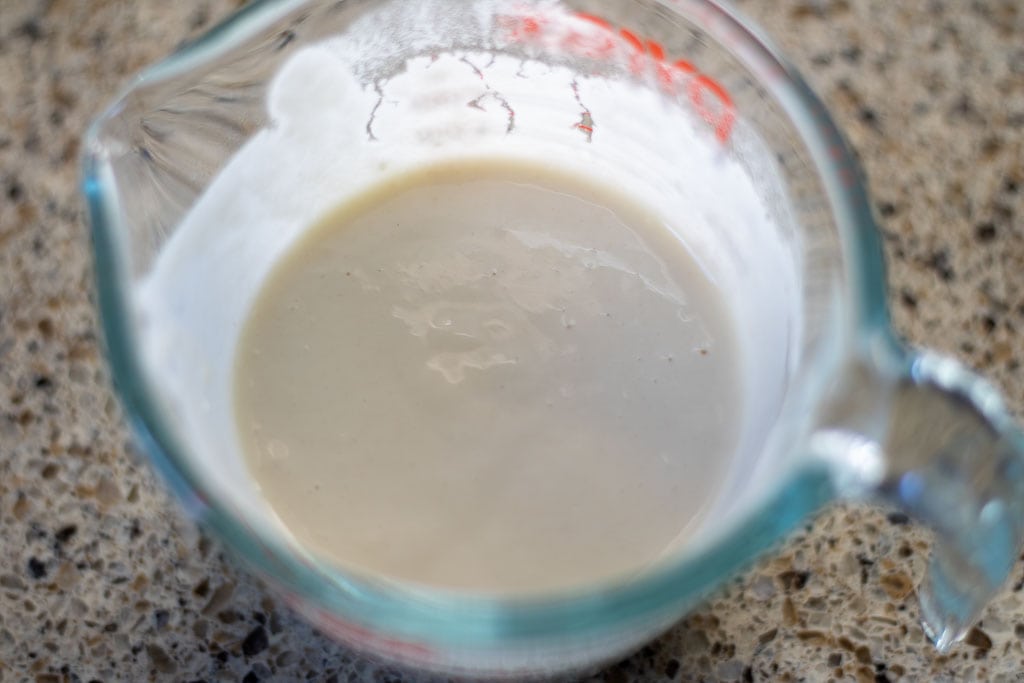
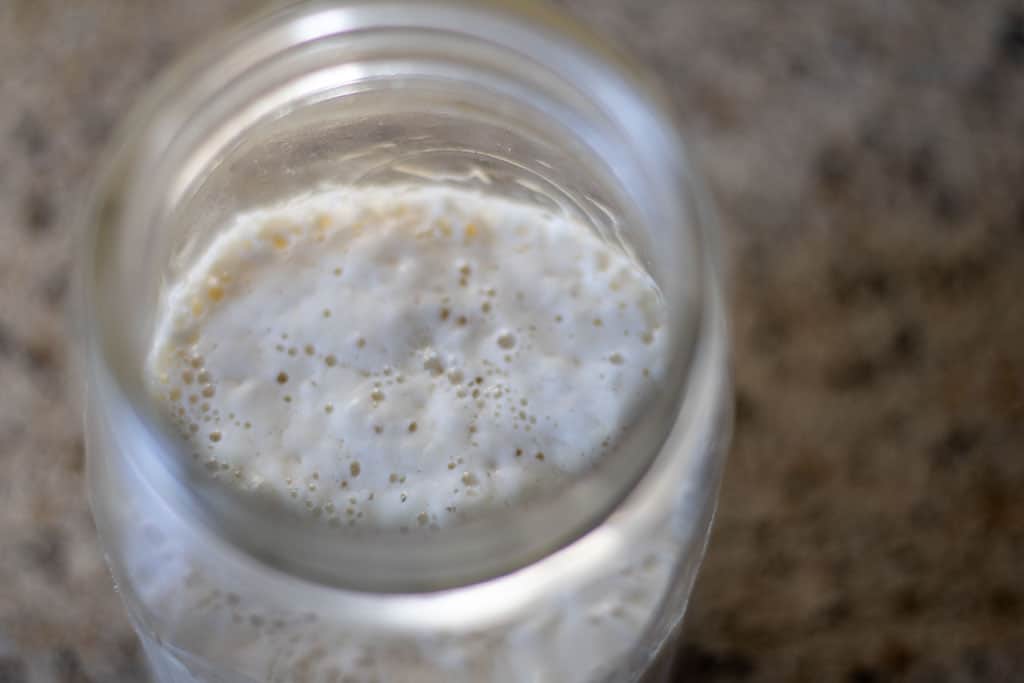
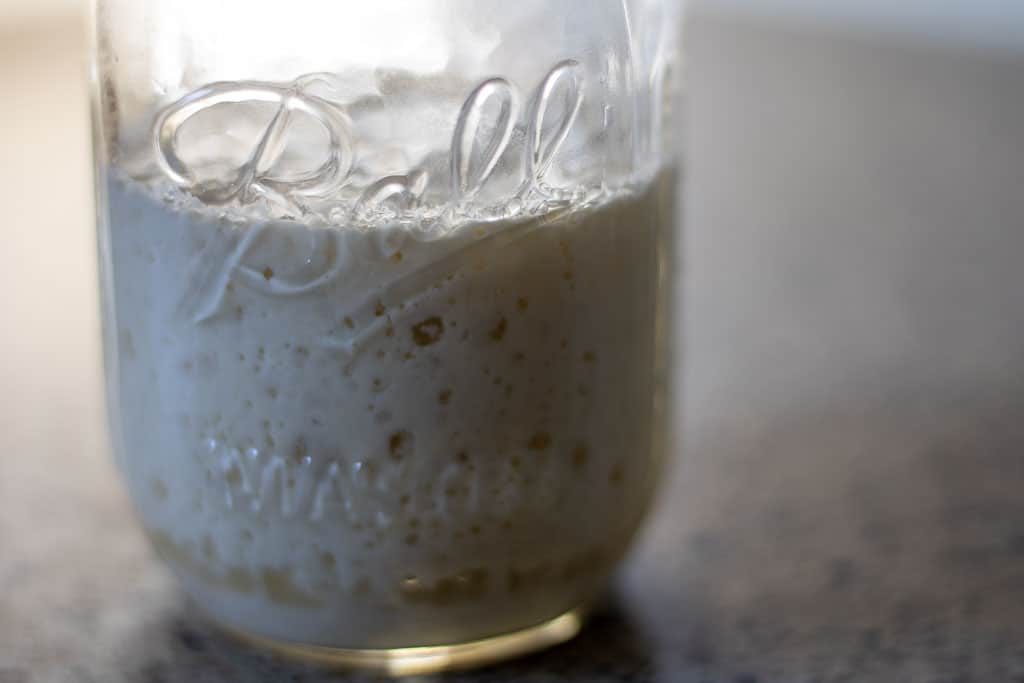
- Active Sourdough Starter. Make sure you’re starter is at it peak (see photos below). You’ll need an active and bubbly starter to rise the dough.
- Eggs. The eggs add a rich flavor and help with that fluffy texture and chewy crumb.
- Butter. Adding fat enriches the dough. Butter imparts a lovely flavor, but you can also substitute oil.
- Honey. This natural sweetener plays an important role by adding moisture to the bread. It can also extend the shelf life of baked goods.
- Salt. Bread dough needs strength in order to maintain its shape when formed into a loaf. Salt accomplishes this and enhances all the flavors in the recipe.
- Bread Flour. For an airy loaf use bread flour which has a higher protein content than all purpose flour.
Sourdough Challah Recipe Steps (with pictures)
Step 1. Feed your sourdough starter 4-12 hours before starting the recipe.
 Unfed starter.
- Active starter.
- Lots of bubbles.
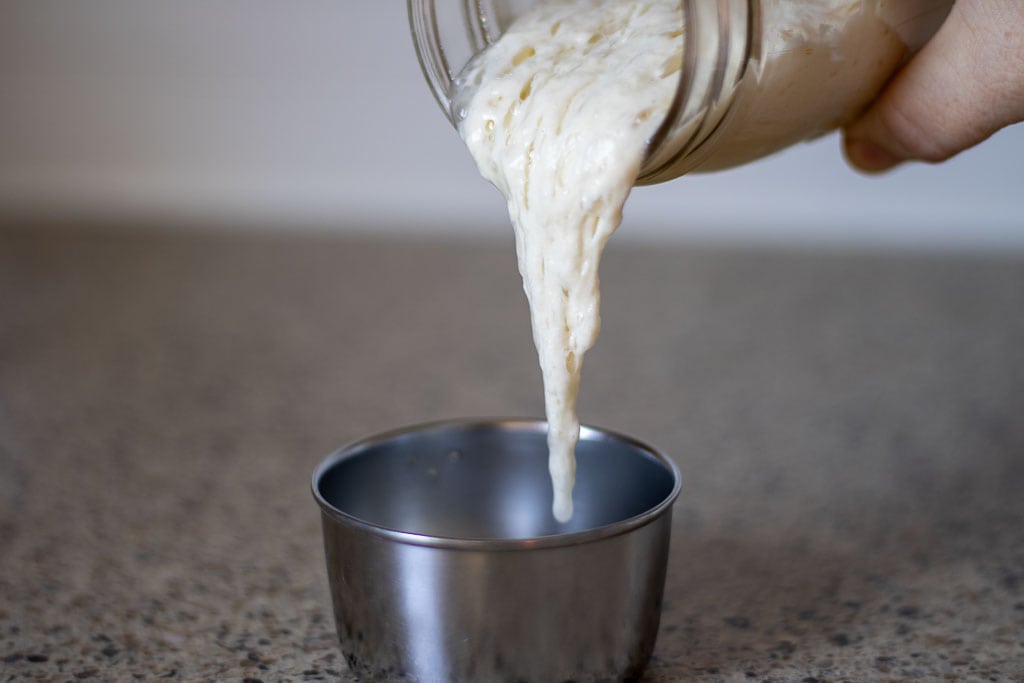
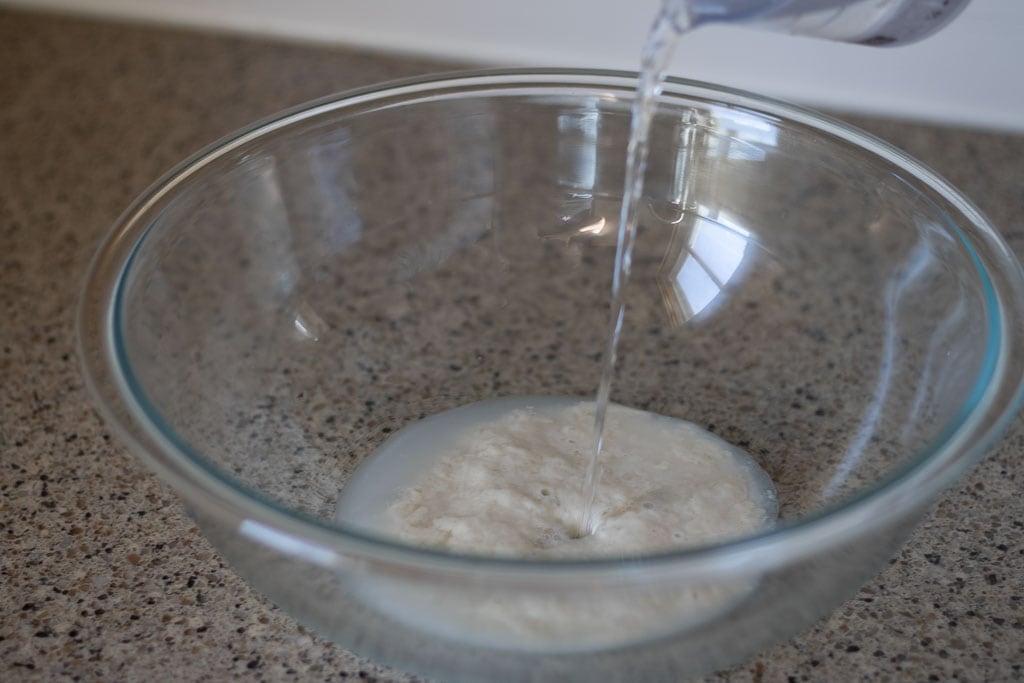
Step 2. In a large bowl, add the warm water and sourdough starter.
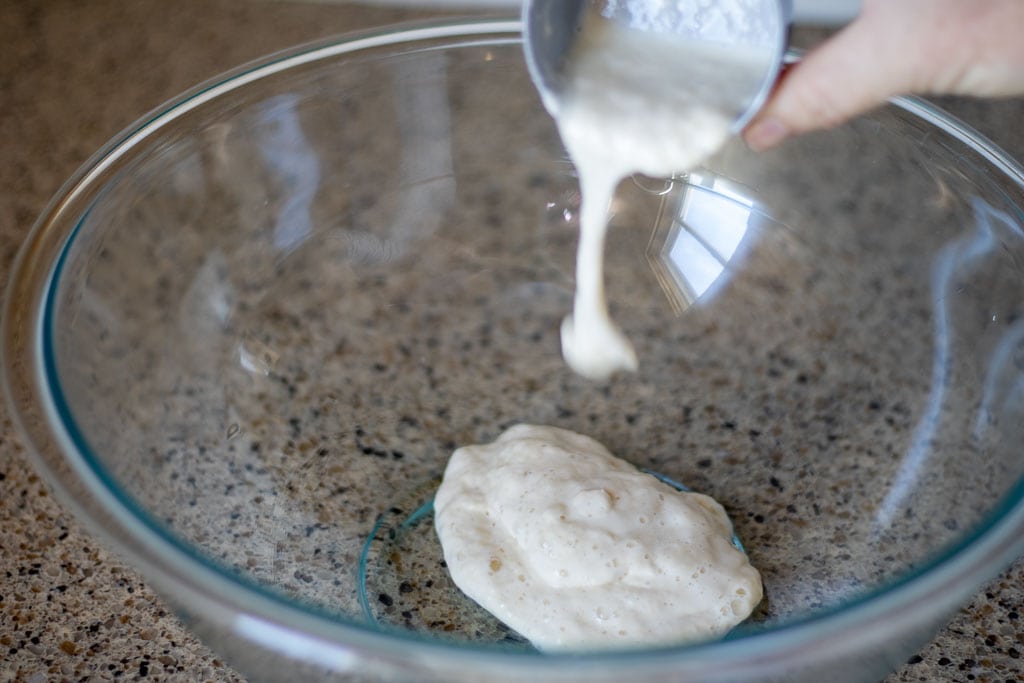
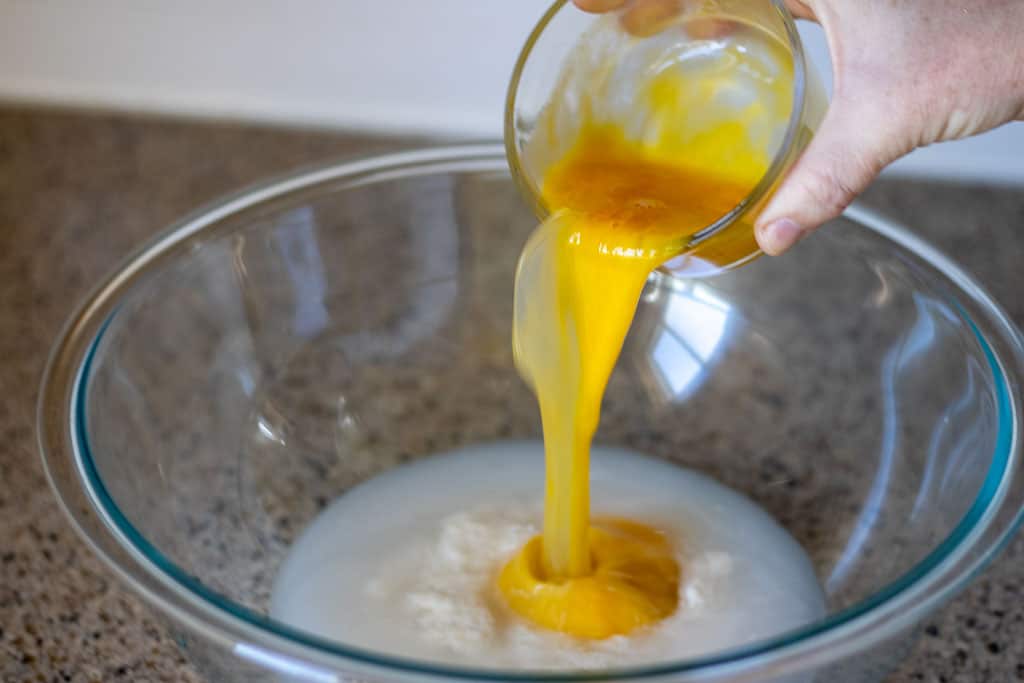
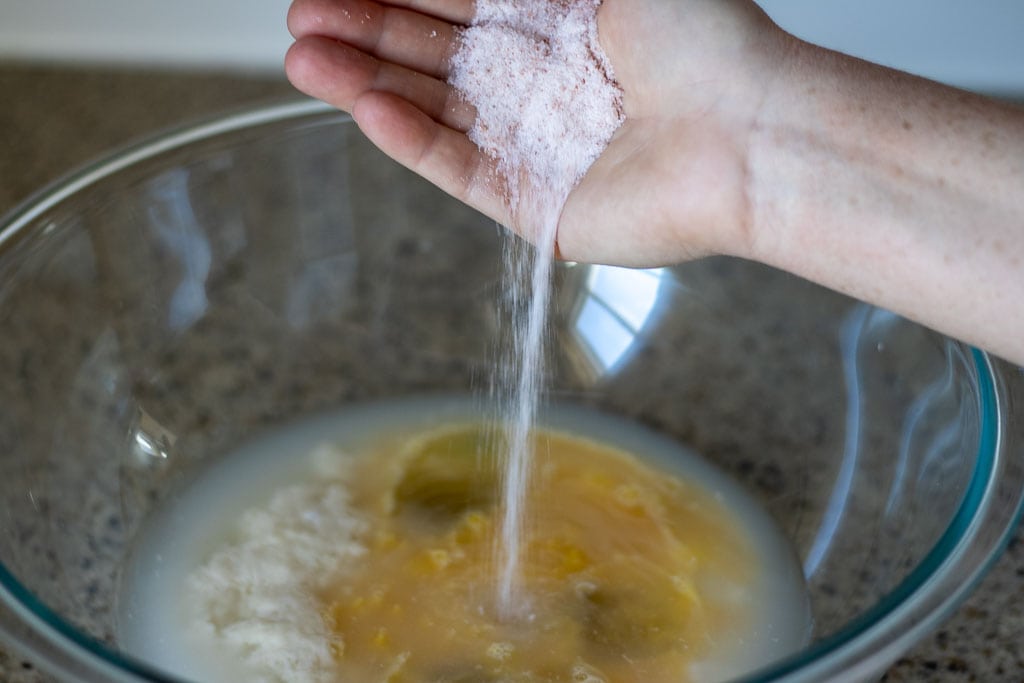
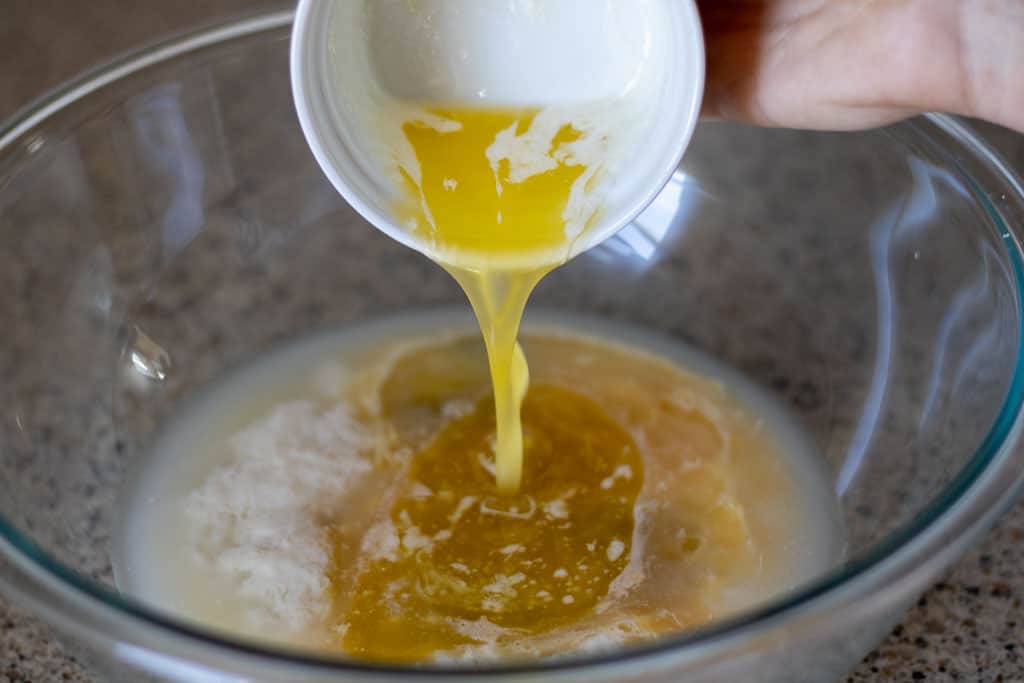
Add in the beaten eggs, honey, and salt.
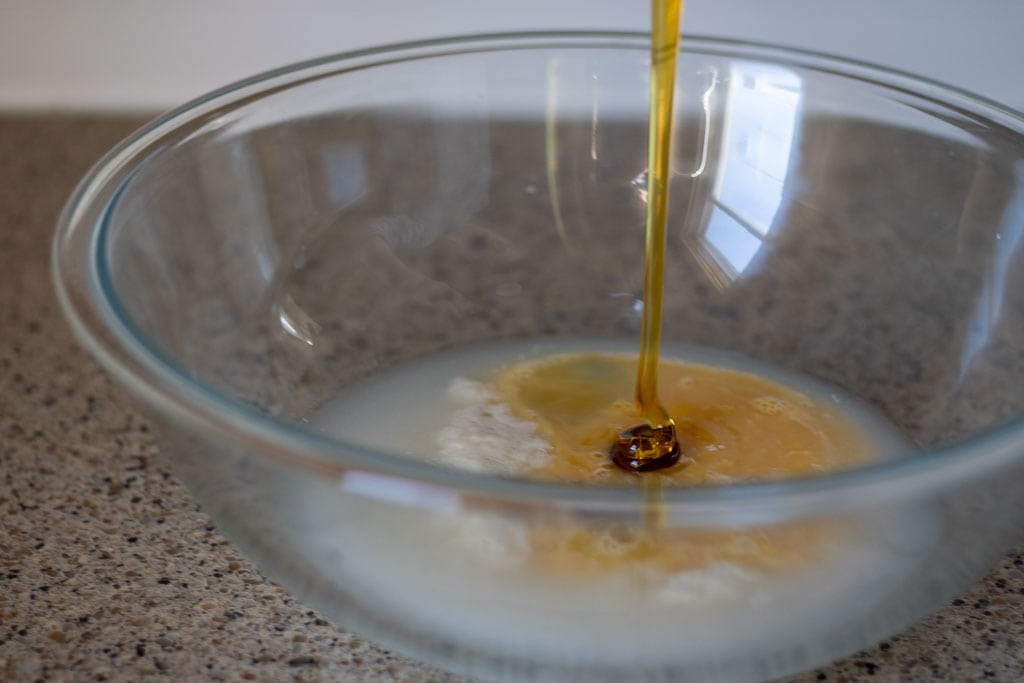
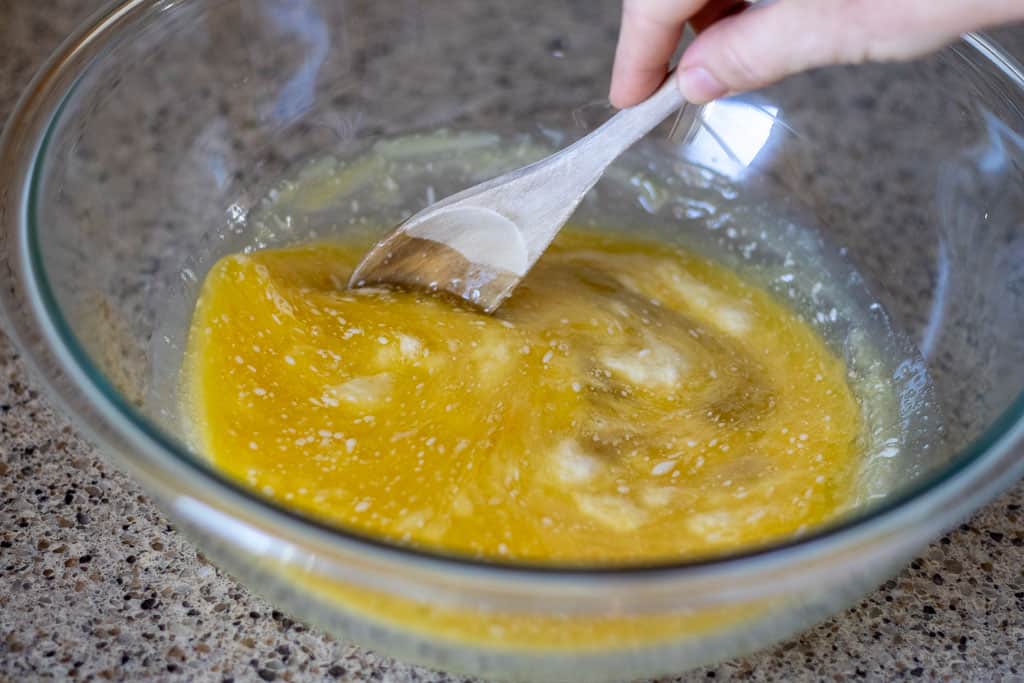
Pour in the melted and cooled butter and then mix the ingredients until combined.
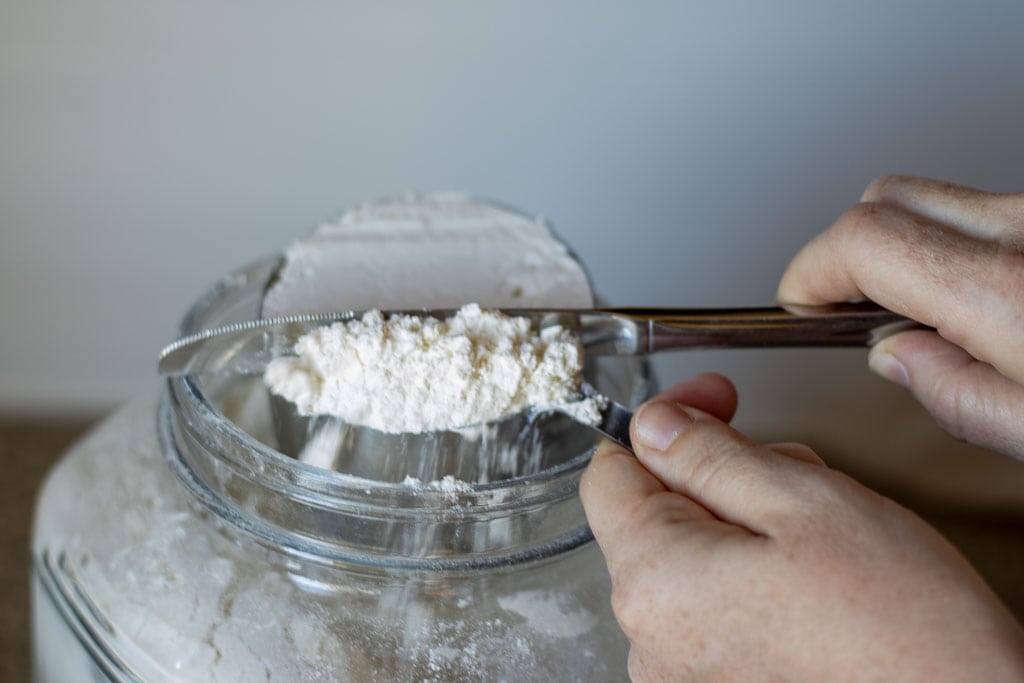
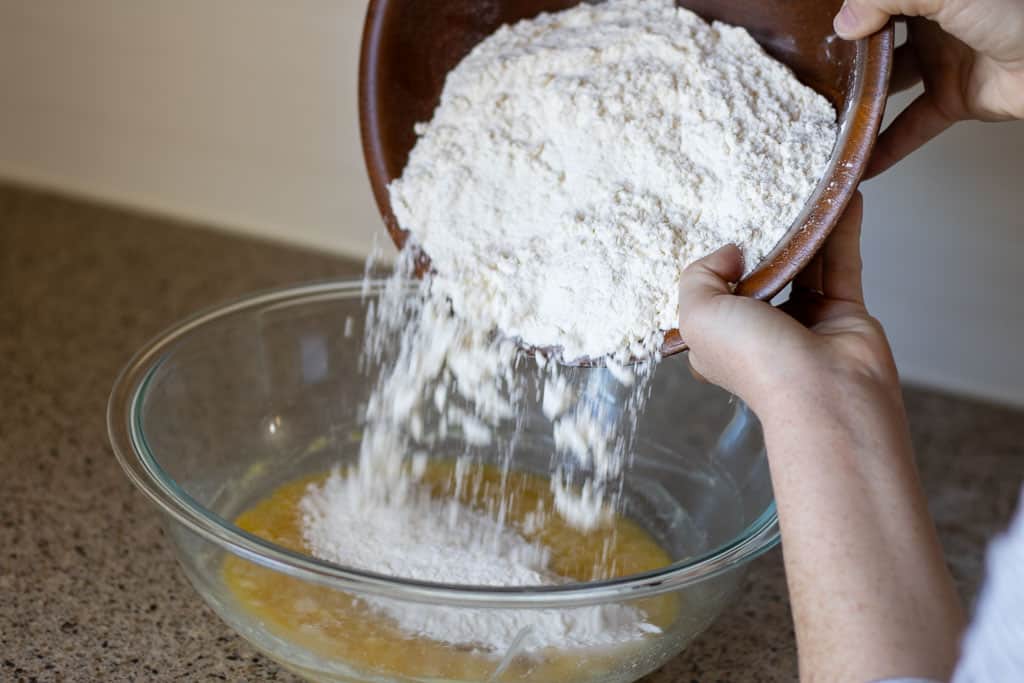
Step 3. Spoon and level the bread flour and add it to the wet ingredients. Stir the mixture together using a wooden spoon to work the dough until combined.
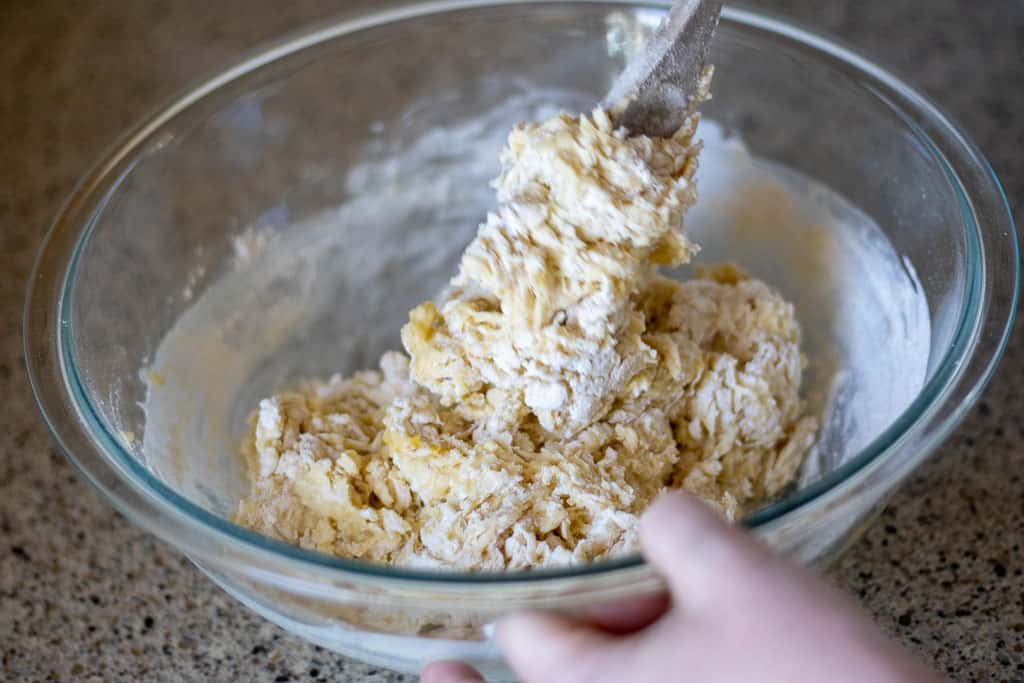
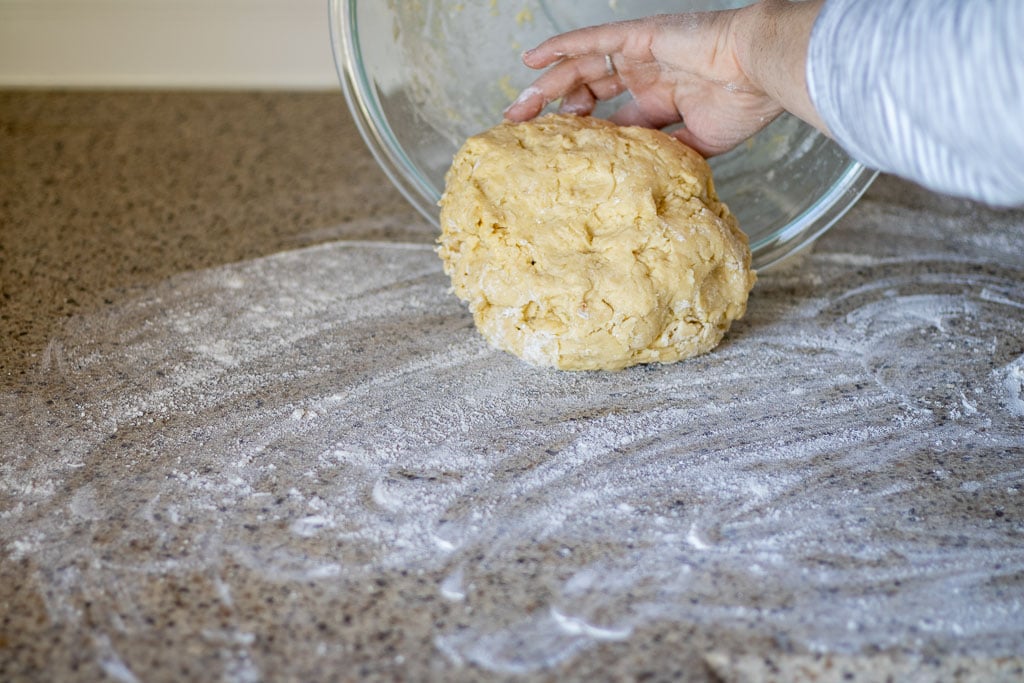
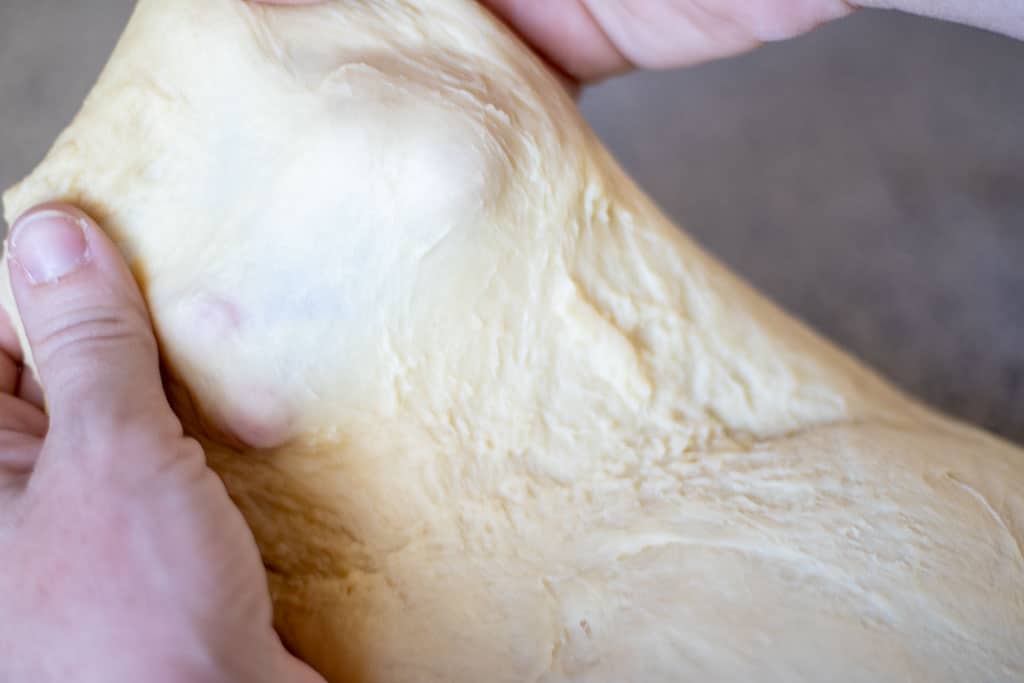
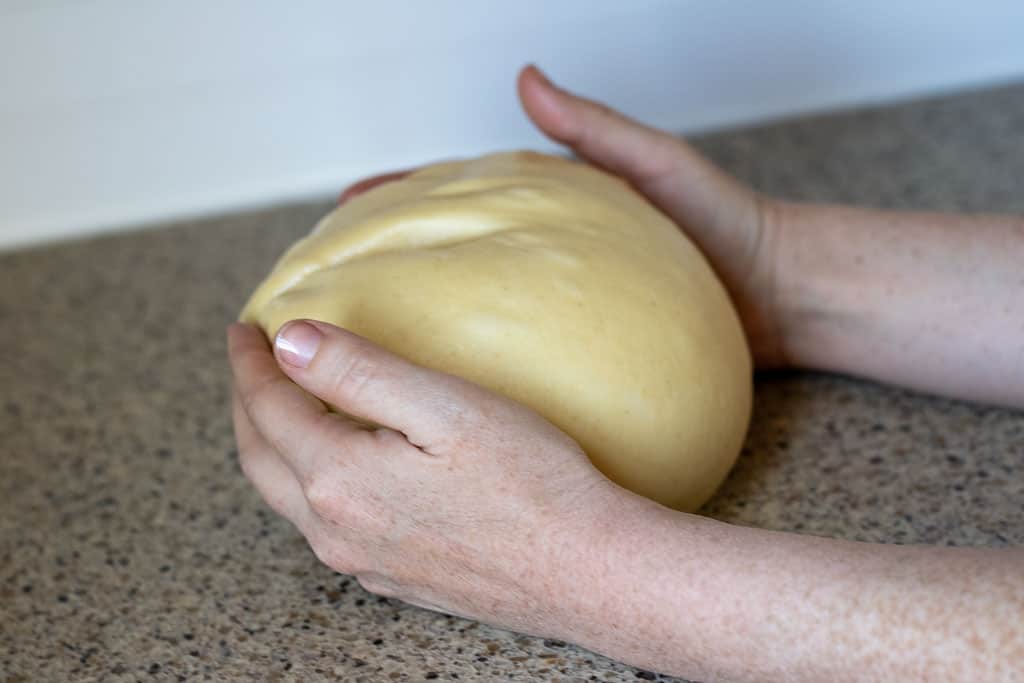
Step 4. Turn the dough out onto a work surface and knead by hand for approximately 10-15 minutes. You can also do this in the bowl of a stand mixer with a dough hook. Knead until the dough passes the “window pane test”. Stretch the dough into a thin layer and hold it up to a window to see if light shows through.
You can also test to see if enough gluten has formed by poking the dough with your finger. If the dough bounces back without sticking to your finger, you have kneaded enough.
- Window-pane test

Kneading bread dough by hand can take a lot of effort and time, but it’s well worth it and I find it a relaxing task to do while playing some music or a podcast. If your arms get tired, take a break, cover the dough with plastic wrap for 10 minutes, and then return to kneading. You’ll know it’s ready when the dough feels smooth and elastic.
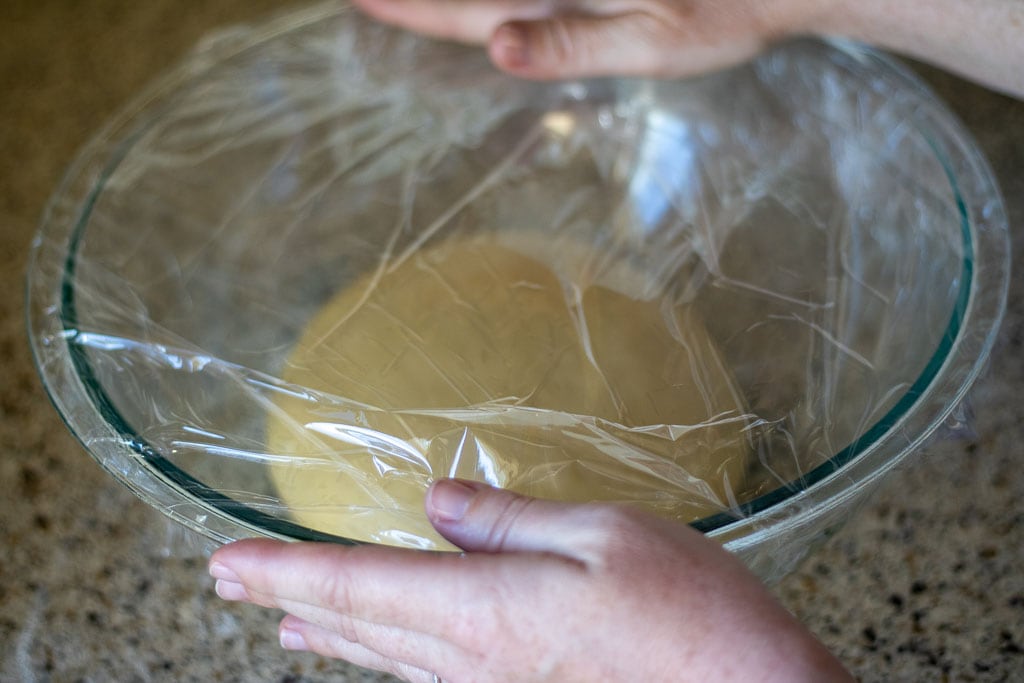
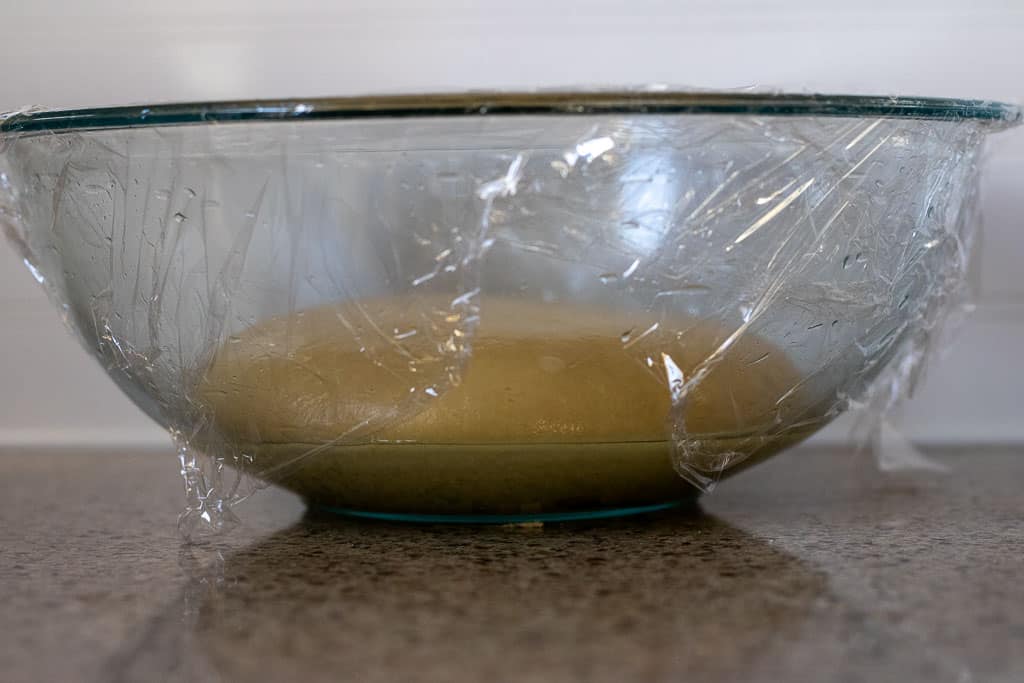
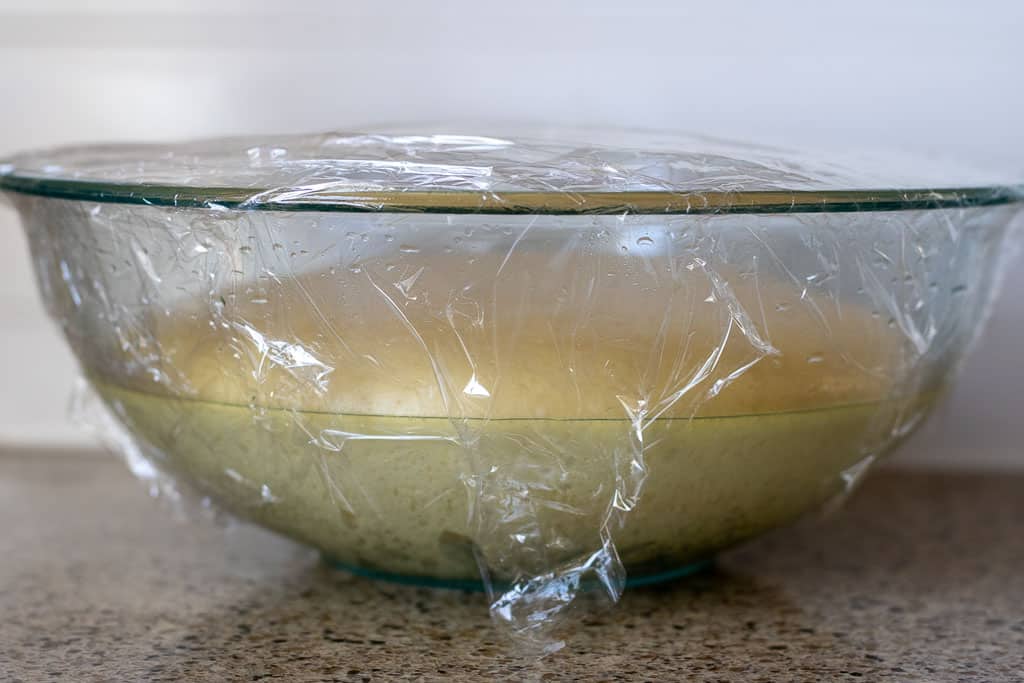
Step 5: Place the ball of dough into a large greased bowl and cover with plastic wrap. Set on the counter and allow the dough to bulk rise until double in size. This can take around 10-12 hours or more. If your house is cooler, it may take longer. In warmer temps, it will go faster.
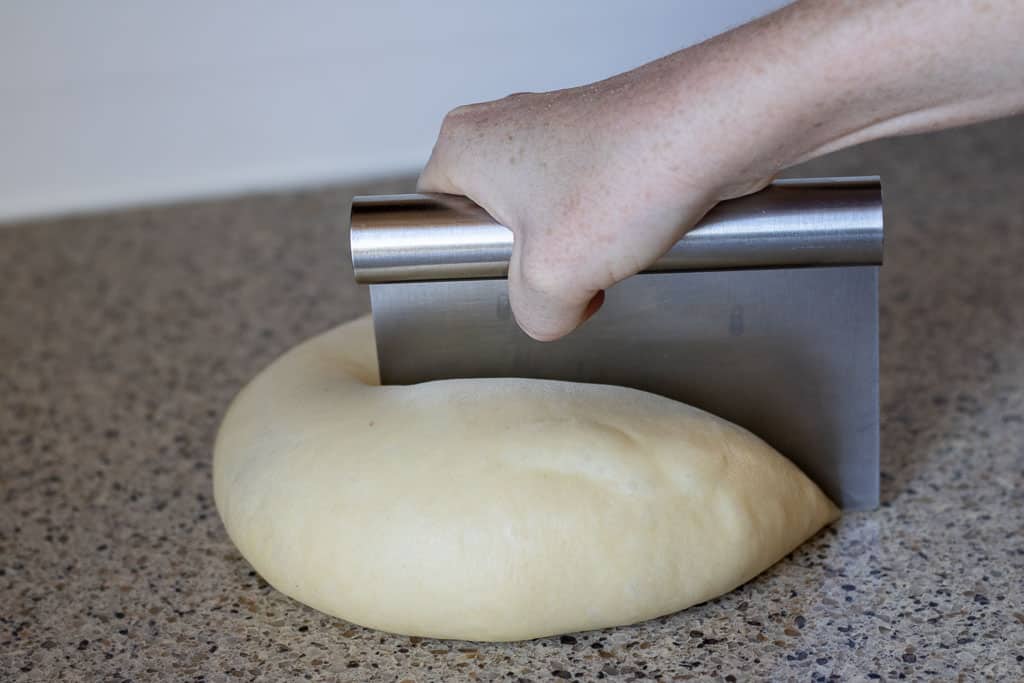
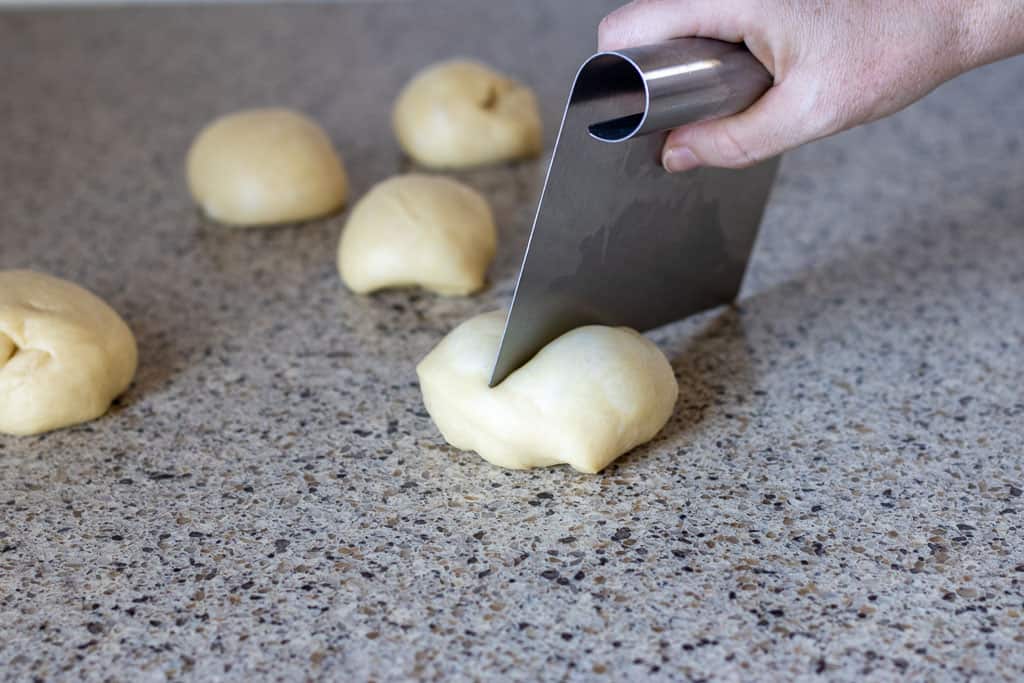
Step 6: Divide the ball of dough in half and then divide each half into eight equal-sized portions, for a total of 16 small dough balls.
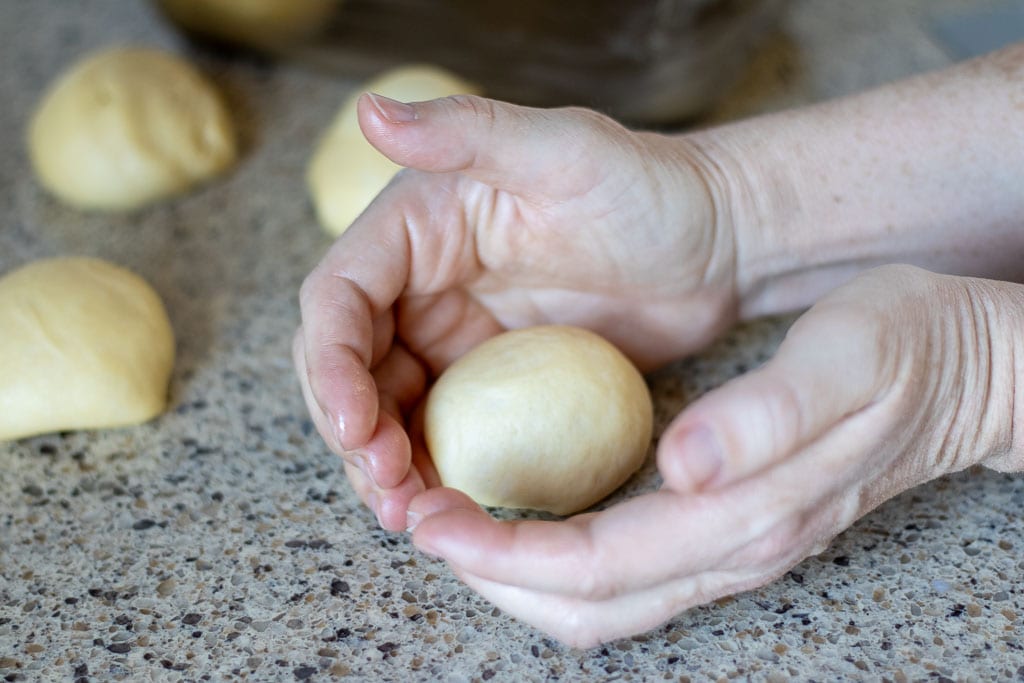
Step 7: Shape each portion into a ball just like you would with dinner rolls.
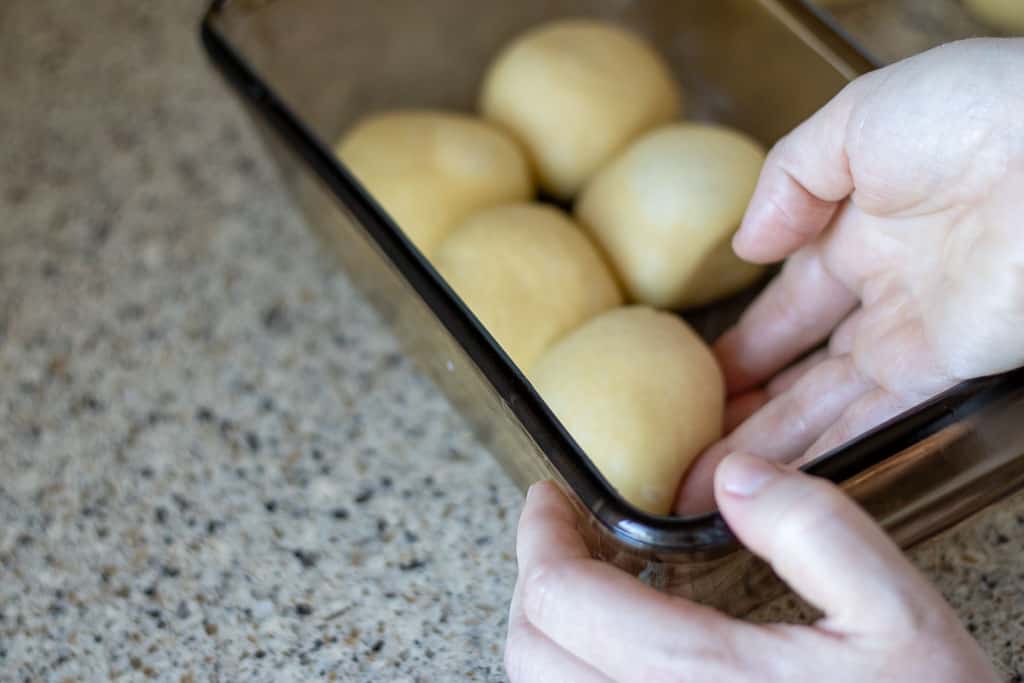
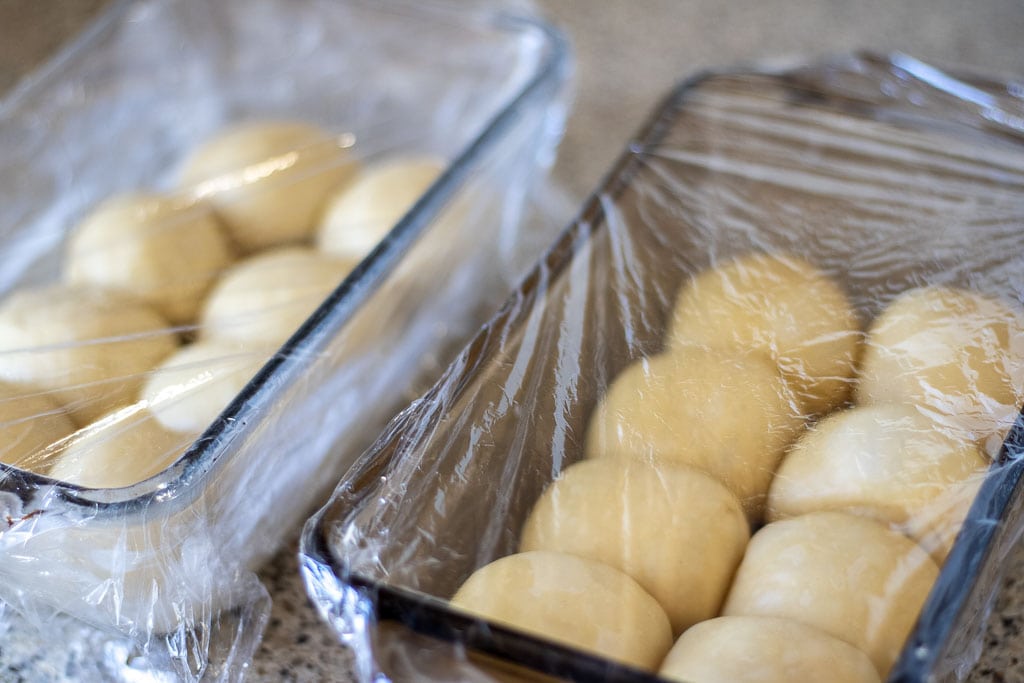
Step 8: Place 8 shaped dough balls into each greased loaf pan and then cover with plastic wrap and allow to rise again for 4-6 hours or until the dough is level with the top of the loaf pan. You can also pop the shaped loaves into the refrigerator and allow them to proof overnight.

Step 9: Preheat the oven to 350 degrees F and then mix up the egg wash. Mix one egg and a tablespoon of water together, and then brush it over the top of each loaf.
Step 10: Adjust the oven rack to the lower third of the oven and then bake the loaves for 30-35 minutes, tenting with aluminum foil about 20 minutes into the baking time.
Transfer baked loaves to a wire rack to cool for a few minutes before slicing.
Tips
- Check to see if you’ve kneaded the dough enough by performing a “window pane test”. Do this by taking a small portion of the dough and gently stretching it until you can see through the dough (see picture above). If the dough tears apart before stretching into a thin translucent membrane, continue kneading.
- Make sure to start with a very active sourdough starter, as you will need strong leavening action to rise this bread.
- The process of making sourdough bread is quite forgiving. I’ve included a baking schedule to help guide you through the timeline, but the rise times will vary dramatically depending on the strength of your starter and the temperature of your house.
Baking Schedule

I like to include a baking schedule to give some general ideas for how you can tackle this recipe but don’t allow this to intimidate you. Sourdough bread is actually very forgiving and you don’t need to follow a schedule exactly.
Feed your starter 12 pm. Feed your starter 4-12 hours before beginning the recipe.
Mix up the dough 7 pm. Get the dough ready and kneaded then cover and leave on the counter overnight or until double in size. My house was cold when I made this bread so I left it to ferment overnight and most of the next day.
Next day shape the loaves. In the morning or afternoon, shape the loaves, then cover and allow to rise again until the dough level with the top of the loaf pans. This can take 2-6 hours.
I allowed my loaves to rise for several hours then covered them with plastic and put them in the refrigerator for another night, then baked them the next day.
Bake the loaves once they have risen to the top or at least close to the top of the loaf pans.
Variations and Substitutions
- Make it into a Chocolate Challah Bread loaf by adding 2/3 cup of packed brown sugar instead of the honey and stirring in 1/2 cup of cocoa powder and 2 teaspoons of espresso powder into the flour.
- You can use all-purpose flour instead of the bread flour in this recipe; just note that the texture will be a bit more dense. I’ve used 100% all-purpose flour before, and everyone still loves it.
- Substitute your preferred vegetable oil for the butter if you’d like to go with a non-dairy option.
- Regular granulated sugar can also be used instead of honey.
Storage Notes
Allow the sourdough bread to cool completely and then cover it in a airtight container and store at room temperature for up to 1 week. I love these cheap plastic bread bags for easily storing my homemade bread products.
What to use challah bread for
This is my go-to bread recipe for making French toast. You just can’t beat the flavor and texture of this sourdough challah bread mixed with that delicious cinnamon and vanilla filling. When I’m feeling lazy, I’ll break it up for French toast casserole instead, or use it as the bread base for a cheesy egg breakfast bake.
Honestly, we tend to just gobble this bread up on its own with a little butter and honey, but it’s also wonderful for lunch sandwiches. We also like to use it for gooey sourdough grilled cheese sandwiches.
Easy Sourdough Challah Bread Recipe (Knead by Hand Option)

A simple and delicious sourdough challah bread recipe that can be mixed together, kneaded by hand, and left overnight. No stretching and folding, no stand mixer required, and no complicated baking schedule.
Ingredients
- 3/4 cup warm water
- 1 cup sourdough starter (active and bubbly)
- 2 eggs (lightly beaten)
- 5 tablespoons unsalted butter (melted and cooled)
- 1/3 cup honey
- 1 and 1/2 teaspoons salt
- 5 1/2 cups bread flour
Egg Wash
- 1 egg (lightly beaten)
- 1 tablespoon water
Instructions
Step 1. Feed your sourdough starter 4-12 hours before starting the recipe.
Step 2. In a large bowl, add the warm water, sourdough starter, beaten eggs, honey, and salt. Pour in the melted and cooled butter and then mix the ingredients until combined.
Step 3. Spoon and level the bread flour and add it to the wet ingredients. Stir the mixture together using a wooden spoon to work the dough until combined.
Step 4. Turn the dough out onto a work surface and knead by hand for approximately 10-15 minutes. You can also do this in the bowl of a stand mixer with a dough hook. Knead until the dough passes the window pane test*.
Step 5: Place the ball of dough into a large greased bowl and cover with plastic wrap. Set on the counter and allow the dough to bulk rise until double in size. This can take around 10-12 hours or more. If your house is cooler, it may take longer. In warmer temps, it will go faster.
Step 6: Divide the ball of dough in half and then divide each half into eight equal-sized portions, for a total of 16 small dough balls.
Step 7: Shape each portion into a ball just like you would with dinner rolls.
Step 8: Place 8 shaped dough balls into each greased loaf pan and then cover with plastic wrap and allow to rise again for 4-6 hours or until the dough is level with the top of the loaf pan. You can also pop the shaped loaves into the refrigerator and allow them to proof overnight.
Step 9: Preheat the oven to 350 degrees F and then mix up the egg wash. Mix one egg and a tablespoon of water together, and then brush it over the top of each loaf.
Step 10: Adjust the oven rack to the lower third of the oven and then bake the loaves for 30-35 minutes, tenting with aluminum foil about 20 minutes into the baking time.
Transfer baked loaves to a wire rack to cool for a few minutes before slicing.
Allow the sourdough bread to cool completely and then cover it in an airtight container and store at room temperature for up to 1 week.
Notes
* Window pane test: Stretch the dough into a thin layer and hold it up to a window to see if light shows through.
You can also test to see if enough gluten has formed by poking the dough with your finger. If the dough bounces back without sticking to your finger, you have kneaded enough.
The kneaded dough should look glossy and feel smooth and elastic.