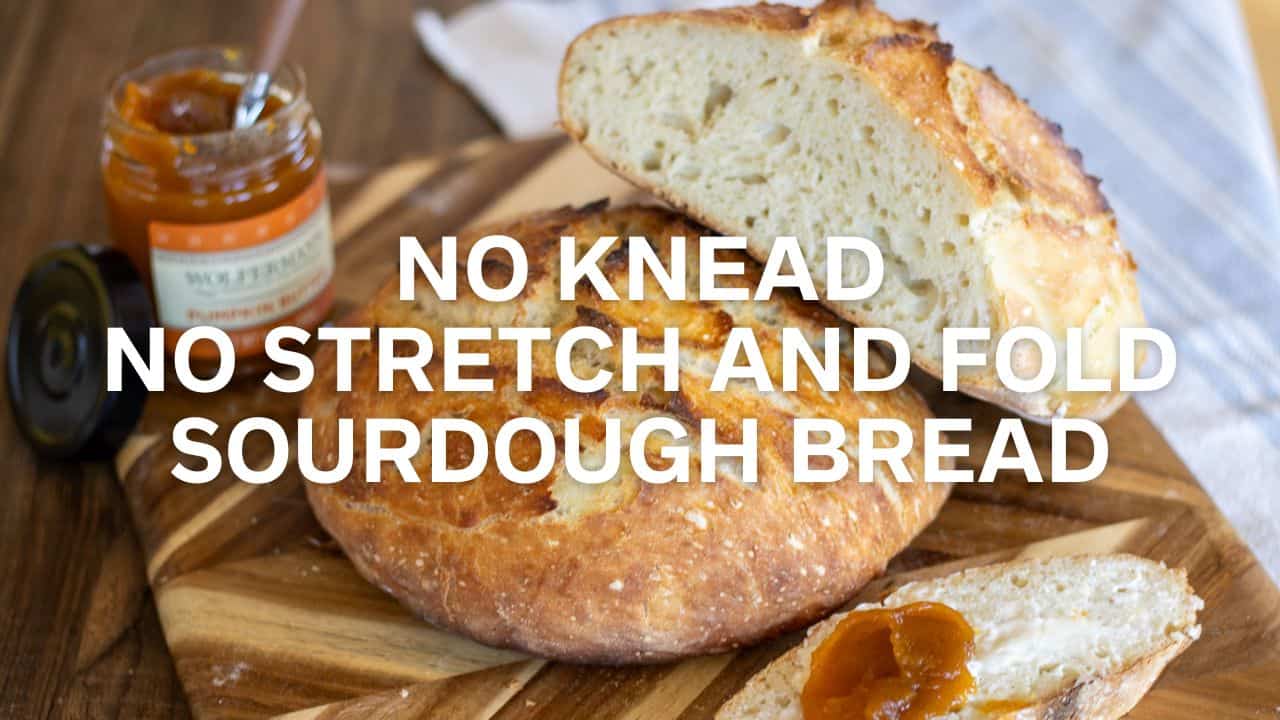
No-Knead, No-Stretch and Fold, Sourdough Bread Recipe
This post may contain affiliate links. Read my disclosure policy.
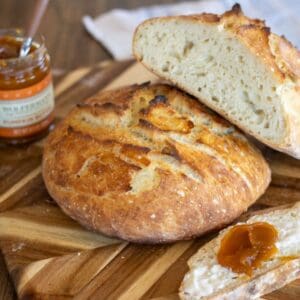
This easy sourdough bread recipe yields a delicious and airy loaf of bread with no kneading and none of those fussy stretch and folds. A simple overnight rise produces a tangy loaf of sourdough with minimal effort!
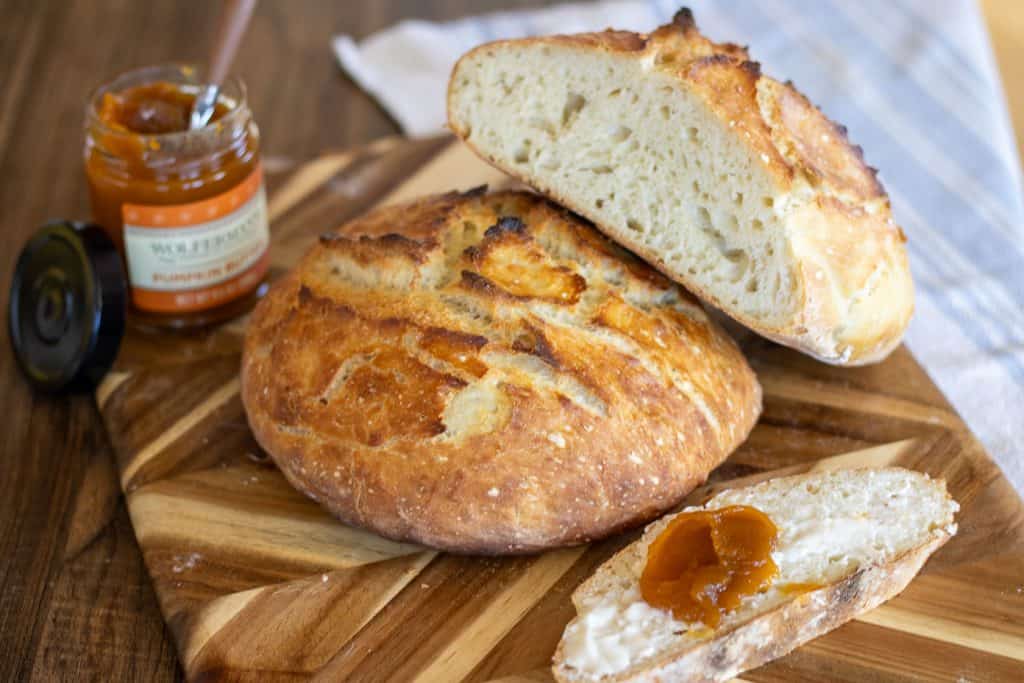
As a busy mom of 5, I don’t always have time or capacity for complicated recipes with lots of steps. That’s why I set out to create an easy sourdough bread recipe that was as simple as possible without sacrificing any of that beloved sourdough flavor.
I wanted a loaf of bread with excellent texture, lots of those airy bubble pockets, and none of the time-consuming steps like kneading or stretching and folding.
I knew exactly what bread recipe to adapt from, because I have baked it dozens of times with great success. I took my favorite no-knead yeasted bread recipe from the book Sacred Seasons and turned it into no stretch and fold sourdough recipe!
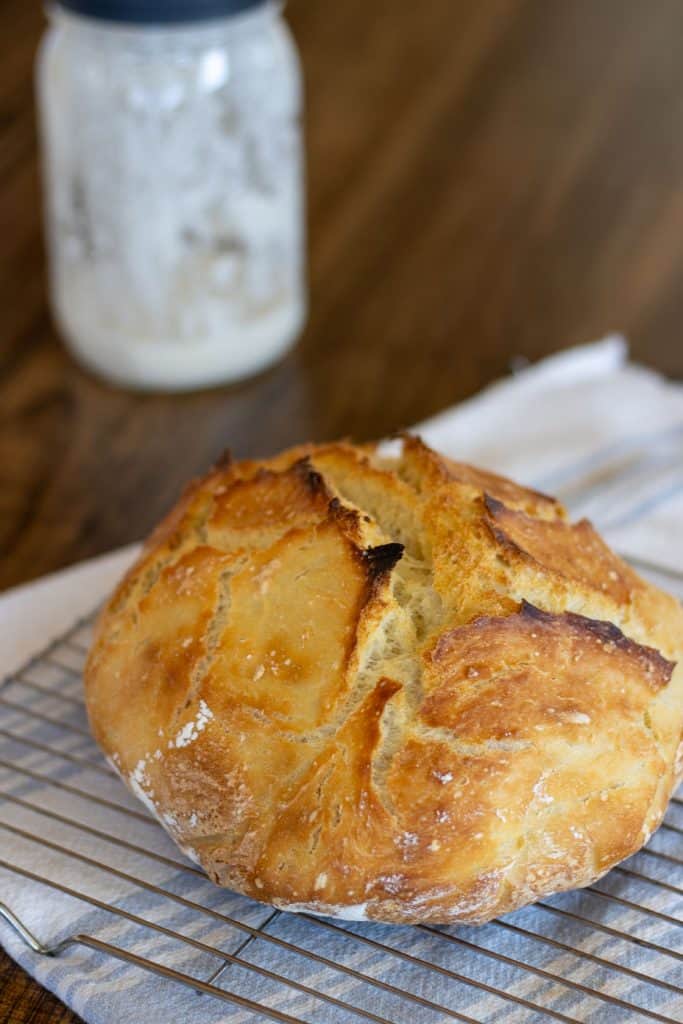
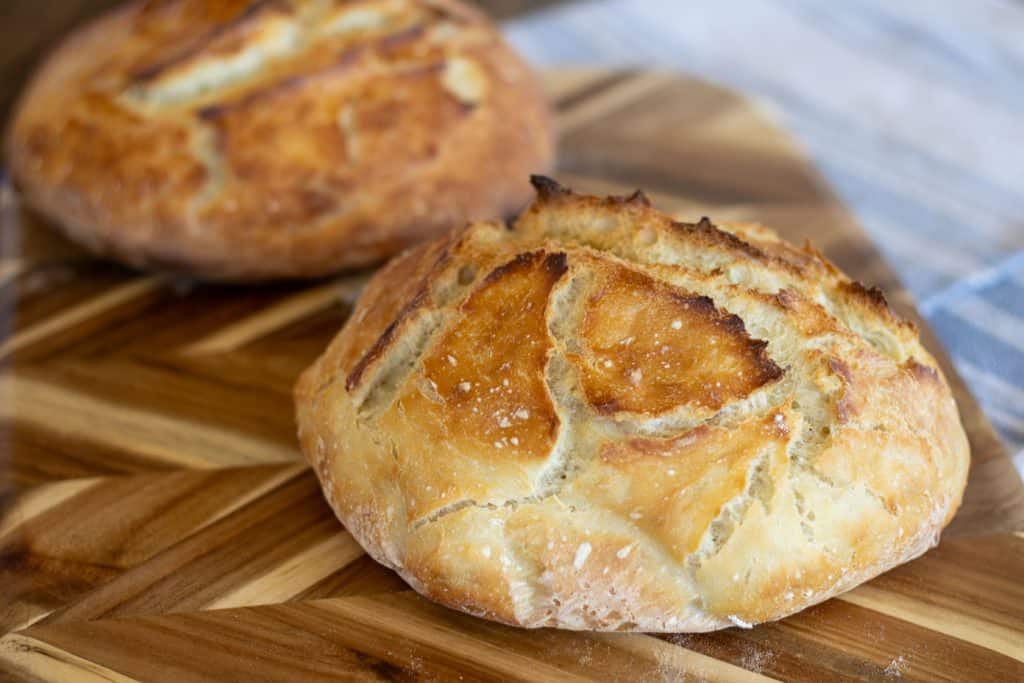
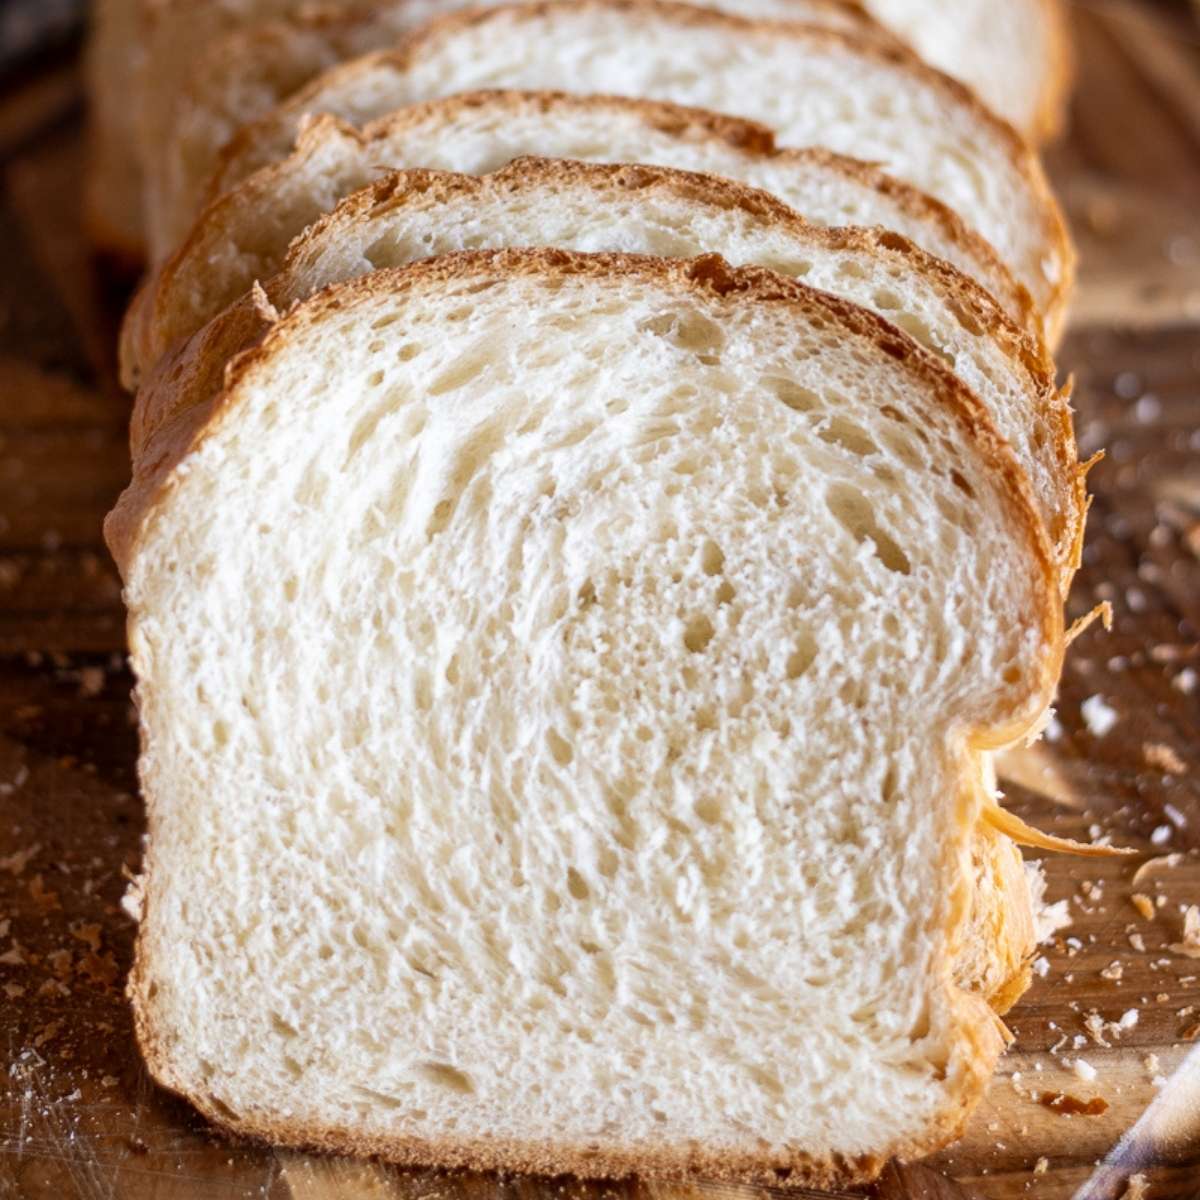
This recipe produces a rustic-looking loaf because it skips the typical shaping and scoring step, which most bread recipes include. When you shape a loaf, it adds tension to the exterior, which helps the bread rise. This dough is too sticky to shape with lots of tension.
No worries, though; by skipping this step, we save time and effort, yet still get a perfect loaf of sourdough. Just know it will be a little bit shorter than the average boule.
Here’s a photo of one of these loaves with a bit of rough shaping, and one that totally skipped the shaping step. Can you tell the difference? I baked the second loaf a few minutes longer, so it got a bit darker in color, but the shapes of the loaves turned out very similar, so I say skip the shaping step!
Recipe Box Repertorire
Reasons why this recipe is worth adding to your recipe collection.
- Sourdough made simple. This is the easiest method for baking sourdough; it’s a mix, dump, and bake recipe.
- This sourdough bread requires no kneading and no stretching and folding.
- It tastes just as delicious as a fancy artisan loaf. Even my father loves this bread (and he is a bit particular about food… sorry, Dad!) 😉
Ingredients and Equipment Needed
If you plan to bake sourdough regularly, I recommend investing in a Dutch oven with a lid. I use this one from Amazon.
A Dutch oven heats very effectively and evenly, plus it keeps in all the moisture, which is a must if you are trying to bake artisan loaves. Steam makes the bread rise, creates that beautiful dome shape, and imparts the perfect chewy and crusty texture.
A Dutch oven is the best tool for achieving all this, though any oven-safe pot that can get up to 450º F / 232º C, lid included, can work.
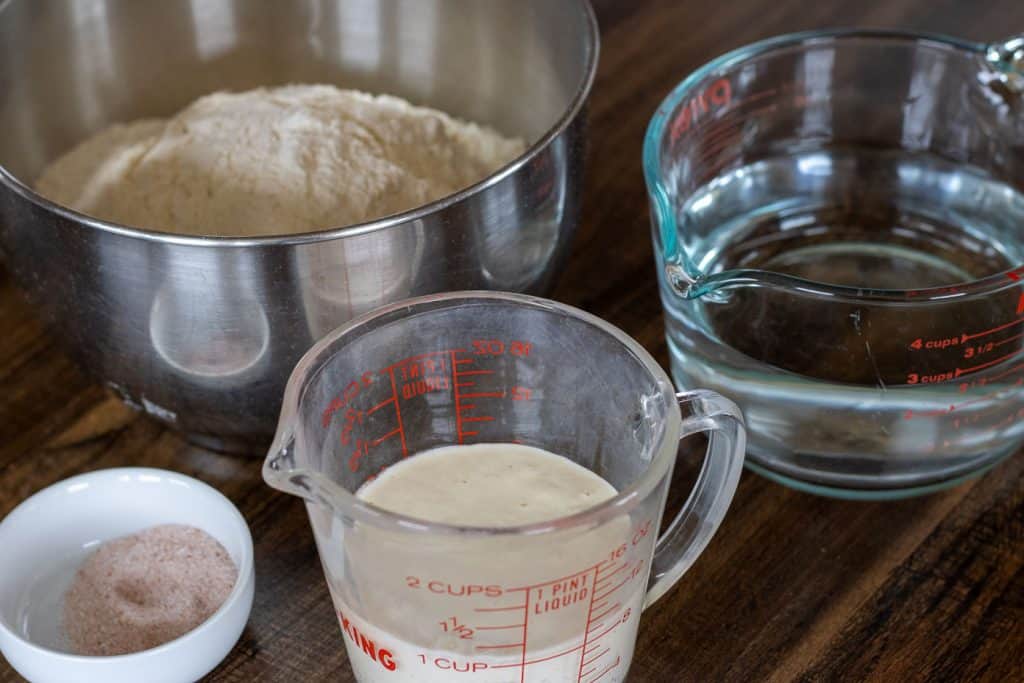
Only 4 basic pantry ingredients are used in this recipe.
I am continually amazed at the wonders of cooking — how four simple ingredients like these can come together to create something that tastes so good.
- Water – Lukewarm water adds structure to the dough and helps us incorporate the starter.
- Sourdough starter – Ideally, use an active, bubbly, fed starter. I have also experimented successfully with using discard or unfed starter. Apparently, some sourdough laws can be broken.
- All-purpose flour – You could also use bread flour.
- Salt – The key ingredient in virtually every recipe; salt enhances the flavor and helps with the texture.
Quick Guide How To Make
- Mix the water and sourdough starter in a bowl, then add the rest of the ingredients and mix till combined.
- Cover the sticky dough with plastic wrap and bulk ferment (8-24 hours or doubled in size).
- Preheat oven and Dutch oven with lid on to 450°F.
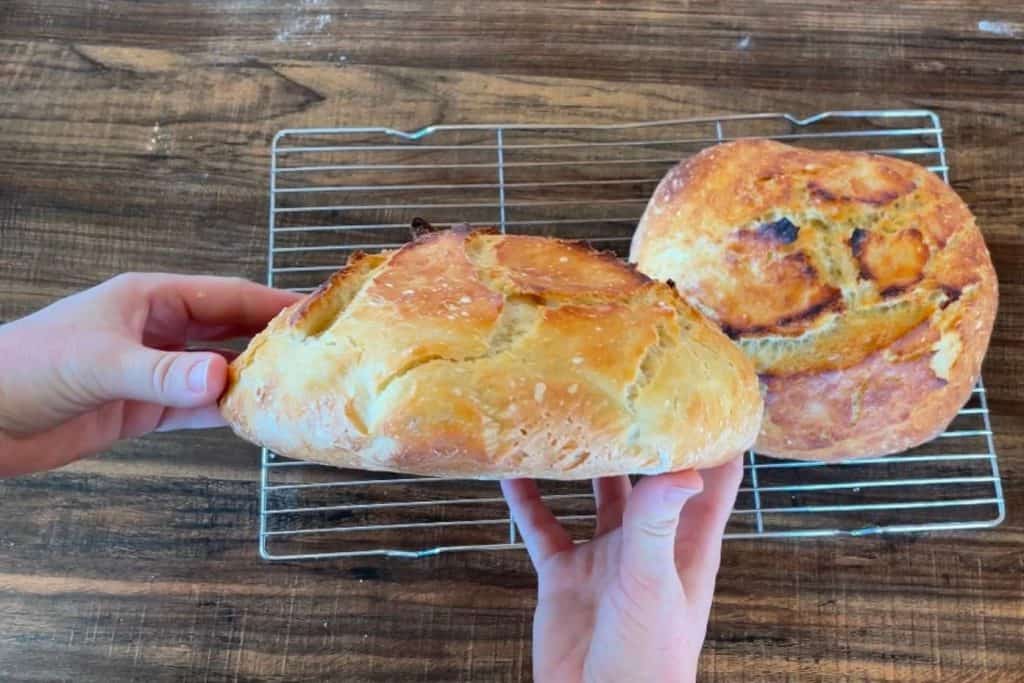
- Split the dough in half and add half to the hot Dutch oven. Place lid on and bake 30 minutes.
- Remove the lid and bake another 15-20 minutes or until golden. Remove bread from pot to cool and repeat with the other half of the dough.
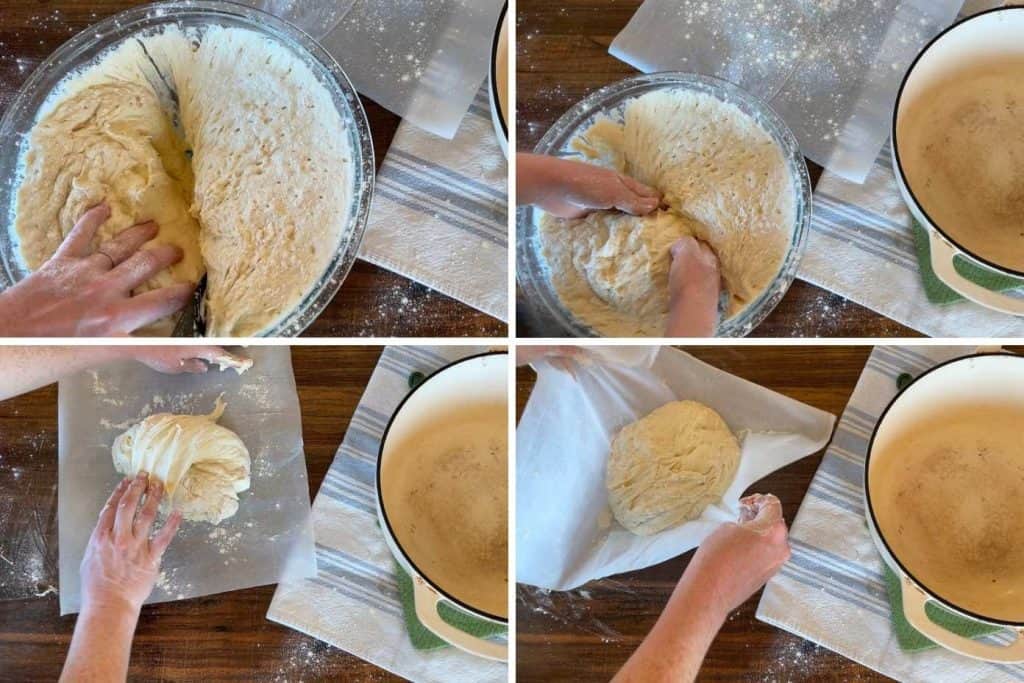
Photos of the Process
Gather the ingredients — sourdough starter, water, flour, and salt.
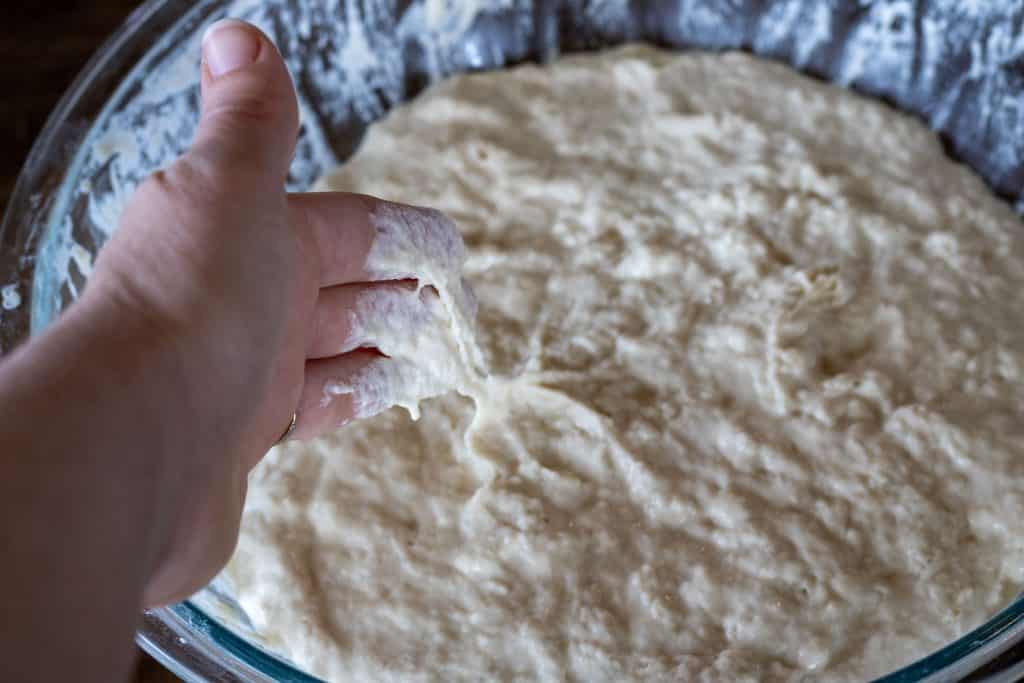
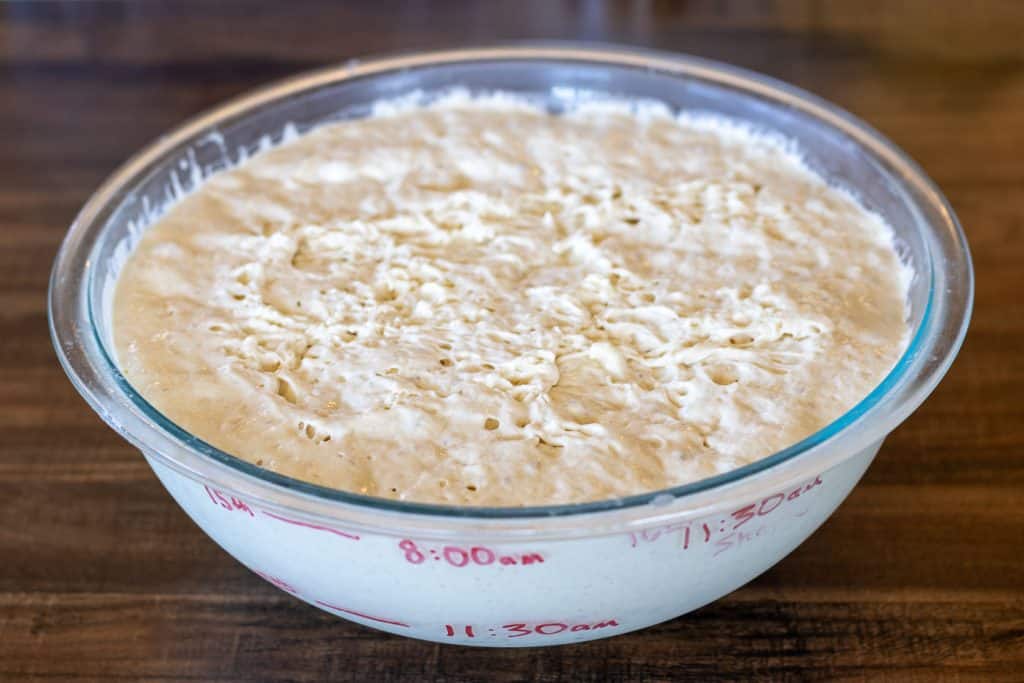
Whisk the water and sourdough starter together, add the flour and salt, and mix thoroughly with a wooden spoon. The dough should be super sticky and wet. Cover with plastic wrap and leave at room temperature to bulk ferment until double in size (8-24 hours).
I started my dough at 11:30 am on the 15th. It was doubled by 8:00 pm that same day (yes, I wrote “am” by accident, whoops! 🙃). I could have baked it at that point (8 1/2 hours into fermenting), but because I’m a food blogger, 8 pm is not a great time for photographs due to lighting.
Instead, I covered my dough and popped it into the fridge for another 15 1/2 hours (24 hours total). I was ready to bake at 11:30 am on the 16th. All this to say; the timing of sourdough schedules can be very flexible.
After the dough has doubled and you have let it ferment as long as you desire, it is time to preheat the oven and the Dutch oven to 450°F. Once the Dutch oven is preheated, get it ready to receive the dough.
Have a piece of floured parchment paper ready to set the dough on, or flour the bottom of the Dutch oven. Split the dough roughly in half (see notes in the recipe card for a less sticky method), then set half of the dough on the parchment.
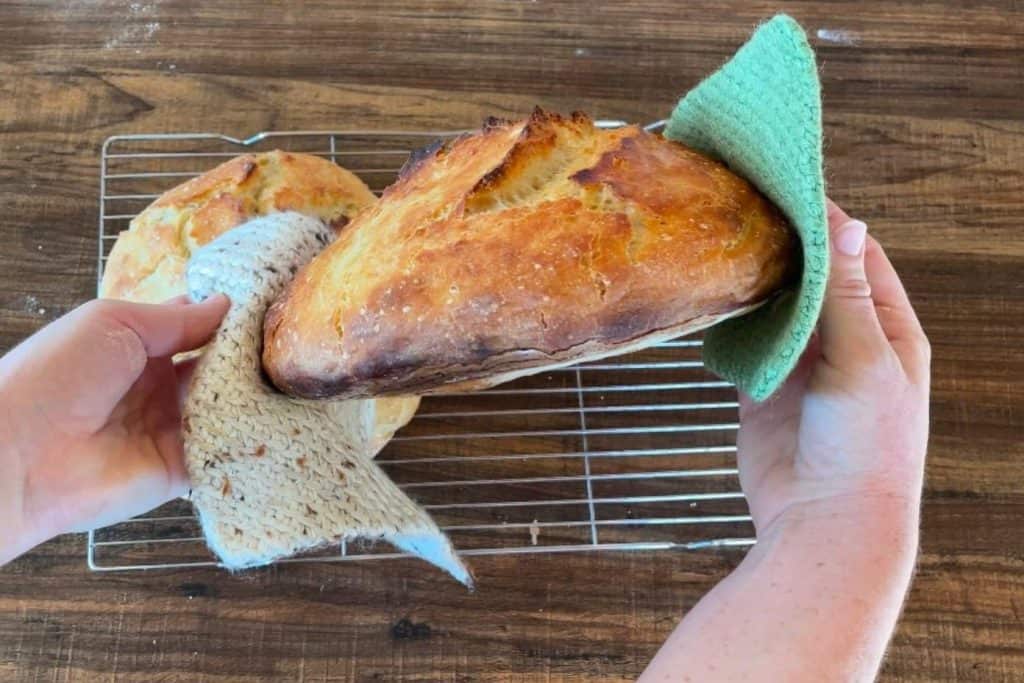
Use the corners of the parchment to lift the dough up and set it with the parchment into the hot Dutch oven. Place the lid on and bake for 30 minutes.
Remove the lid of the Dutch oven after the first 30 minutes of baking, and bake another 15-20 minutes with the lid off. Remove the golden loaf from the Dutch oven to cool. Repeat with the other half of the dough.
Sourdough Tip
If you don’t want to bake with sourdough starter very often or feed your starter daily, you can keep it in the refrigerator and feed it once a week.
FAQ
Typical bread recipes employ kneading to develop the gluten in the bread, giving it structure and a wonderful chewy texture. Stretch and folds are used to achieve the same thing — gluten.
However, the process of fermentation also develops gluten. Allowing the dough to ferment for an extended period of time will result in adequate gluten formation. Aim for a minimum of 8 hours and up to 24 hours. You can opt to long-ferment the dough in the refrigerator to prevent over-proofing.
For this recipe, you can skip the shaping and scoring steps. If you’d like to shape it, you can watch my video version of this recipe to see how to handle the sticky dough.
How To Store
Store freshly baked and fully cooled sourdough bread in an airtight container at room temperature for up to 1 week. I like to pre-cut my bread and store it in plastic bread bags. It’s not the most sophisticated storage option, but it works for our large family!
Freezing Instructions
This bread freezes well after it’s baked and fully cooled. I like to bake up several loaves, wrap them individually, and then fill an extra large plastic freezer bag full of loaves. They will keep for up to 3 months in the freezer.
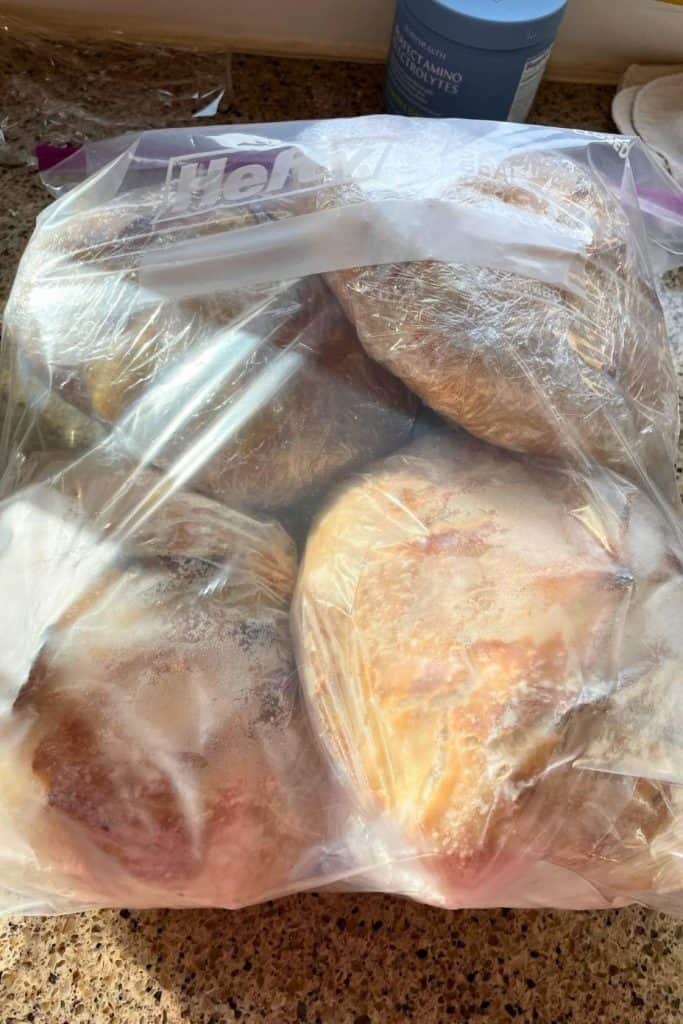
When ready for a loaf, set it on the counter to thaw overnight, then slice and enjoy.
No-Knead, No-Stretch and Fold, Sourdough Bread Recipe
Ingredients
- 1 cup sourdough starter (172g) active and bubbly
- 2 and 2/3 cup water (632g) lukewarm
- 6 cups all-purpose flour (798g) spooned and leveled
- 3 teaspoons salt (15g)
Instructions
- In a large mixing bowl (one that is easy to cover with plastic wrap) use a whisk or wooden spoon to mix the sourdough starter and water. Add in the flour and salt and use the wooden spoon to combine the ingredients until the dough is well incorporated and there are no pockets of flour left.
- Cover the bowl with plastic wrap and let it sit on the counter at room temperature for at least 8 hours, or up to 24 hours. The dough should double in size and be full of bubbly air pockets.
- When ready to bake, place a Dutch oven (with the lid on) in the oven and get it preheating to 450°F. You want the Dutch oven to be hot for baking. Once fully preheated, remove the pot from the oven and use an oven mitt to remove the lid.
- Sprinkle flour over your hands and onto a piece of parchment paper (if not using parchment, then flour the bottom of the pot). The dough will be very sticky, but do your best to split it roughly in half; it doesn't have to be precise. Grab half of the dough and plop it onto the floured parchment. Lift the corners of the parchment to drop both it and the dough into the hot Dutch oven.
- Bake for 30 minutes with the lid on, then remove the lid and bake for another 15-20 minutes with the lid off, or until golden brown. Remove the bread from the pot and let it cool completely before slicing. Repeat the process with the other half of the dough.
Video
Notes
Watch my video version of this recipe for a better visual of how to work with this sticky dough.Splitting the dough. Because this dough is very sticky, the trickiest part is splitting the dough in half when you are ready to bake. There are two ways to do this: 1st Method: Grab two bowls and divide the recipe in half. Mix up two batches of dough — 1 bowl for each loaf. This way, you won’t have to split a sticky bowl of dough in half, and each loaf will be precisely the same size. Into each bowl mix up:
- 1/2 cup sourdough starter
- 1 and 1/3 cups water
- 3 cups all-purpose flour
- 1 and 1/2 teaspoons salt
Nutrition
More favorite recipes from Rooted Deep Home:


This is my go-to easy sourdough bread recipe. I love the no-knead and no stretch and fold method because it makes it so easy and simple to keep fresh and delicious bread on the table consistently. If you have any questions be sure to comment and I’ll get back to you ASAP!
This was my second attempt as sourdough and this turned out much better than my first loaf! Thank you so much for the recipe!
So glad it went well for you!!! Sourdough is so fun to learn. Practice makes perfect, as they say.
When I weigh my 2 2/3 cup of water it is only 540g. I don’t know which measurement I should go with. The 1c sourdough starter was the same weight, but the water seems off. Anyone have advice?
This recipe is very forgiving when it comes to the amount of water. It will work with a little less or a little more. When I weighed my water it was 632 grams of water.
Can I do this recipe but bake it in a roaster pan? How long and what temp? I don’t have a Dutch oven
I have the most success with a Dutch oven. If you want to try without you sure can, I would use the back of a baking sheet that is rated for high temps, or look for a another recipe that is ‘open bake.’ You usually need to add steam to the oven if you don’t use a Dutch oven.